Pages

Tuesday, July 24, 2012

Happy Birthday DIL!!!


This is the birthday card I made for my sweet DIL!  (Happy Birthday Keri!)   I like to put lots of color on things, and needed to use up some of my scraps, so I found five pretty colors, cut out the banner strips on my Fiscars paper cutter, placed them all next to each other in my happy birthday embossing folder and embossed them all together!  I cut a black card base and glued the strips on leaving just a bit of a space between each one to help make the embossing stand out a bit more.  The little white shape was something that was in my shapes folder so I decided I would just use it, even though it is white!  I inked the edges with Tim Holtz Distress Inks (black) and glued it on.  On the inside I used a liner that is white with little colored speckles throughout, like that tissue paper you can buy with sparkles on it...you know which one I mean, right?  Right.....? :)   I used a Stampin' Up stamp "From the minute you begin it-Hope your day has fun things in it!" and put that on the inside.  All done!  It was fast and easy and I love the colors!  Hope you like it too!  Have a wonderful day and thanks so much for stopping by!

Wednesday, July 18, 2012

Wedding Card and Tile

My friend is getting married Saturday and I made this card and tile for her and her new husband.


For the card, I cut a back panel and inked the edges with Tim Holtz Distress Ink "black soot".  I then glued that to the card base.  Then I used the basic shapes in MTC and made a lot of circles of different sizes.  I cut them with my Black Cat Lynx cutter.  Next I embossed each circle with a different embossing folder.  I glued the circles in place at random, putting them where I thought they might look good!  For the center circle I printed the words, inked the edge with Memento "Lilac Posies" ink, glued on a rhinestone for the "ring" and drew little small lines with a marker.  Inside a put a personal verse for the couple.


For this tile I used Oracal 631 vinyl.  I designed the saying in MTC, cut with my Black Cat Lynx, and put the vinyl on the tile.  I really like doing vinyl work.  It is so easy!

I hope you like my little projects for today.  I am so glad that you took some time to stop by my blog and have a peek.  Have a wonderful week!

Tuesday, July 17, 2012

Redecorated Basement!

We redecorated our basement Friday (the 13th!) and I wanted to see what all of you thought of it.  Come on, don't be shy.  Let me know what your opinions are...

First we have the family room carpet and decor;


I think the color of the fans match my couch and chair perfectly, don't you?

Second, our exercise room carpet and new decor;


I love this room because of all of the fans that create a maze throughout.  It makes life much more interesting to get to the den and storage room!  Also, one must be very athletic to be able to climb over everything to get to the bedrooms...that seem to loom very far in the distance!

Third, our den;


The focal point of this room is the stunning hole that was cut in the sheet rock under the window.  We now have the other wall that looks identical!  It is such a nice airy look!

And, last, but not least, our storage room!


This room was particularly hard to do as our pressed-wood fire bricks kept falling over when the water hit them!  They seemed to just expand and explode!  Plus, all the fabrics I had picked out for this room were all in the green box and the other very wet box on top of it.

We decided to leave out the 130 gallons of water that were in the basement.  It just didn't seem to make the decorating any easier so it had to go.  I have been able to eliminate some of our less desirable "things" in our house and have down-sized considerably through this redecorating phase.

I haven't even shown you our garage!  It is just full of fun and decorative wet books, rugs, clothing, Christmas "stuff", stuffed animals, quilts, etc.  Isn't it just wonderful?!  I was serious.  Let me know if you think I would make it in the decorating world!  I would love your input!

Have a wonderful day and thanks for checking in!

Thursday, July 5, 2012

Watermelon Sherbet

Every 4th of July it has become our family tradition to have Watermelon Sherbet.  It isn't what you might be thinking!  It is a very refreshing sherbet dessert to have on those very hot 4th of July days!  Here is what you will need:

Lime sherbet, pineapple sherbet, raspberry sherbet  mini chocolate chips, large bowl and cellophane wrap.  If you can find pints of the lime and pineapple sherbets, that would be best.  I can never find them around here so have to buy the 1.5 quarts and just have leftover to eat later.  Darn!  LOL!  Also, it depends on the size of bowl you use to make your dessert as to how much raspberry sherbet to buy.  I always use 1.5 - 2 quarts.


Step One:  Set out the lime sherbet to soften.  Line your bowl with cellophane.  Press it to the sides of the bowl so that it lays as flat as possible.  There will be wrinkles in it but that is alright.


Step Two:  After the lime sherbet has softened, use a spoon or spatula to line the bowl with a layer of it.  Try to keep this layer to not more than a half of an inch thick.  Mine usually ends up sliding a bit to the bottom so mine gets a bit thicker there.  After you are satisfied with your layer, place the bowl in the freezer to let it harden.  Put your remaining lime sherbet in the freezer for another time.  Set out the pineapple sherbet to soften.


Step Three:  Once the lime sherbet is frozen and the pineapple sherbet is thawed, repeat the above process. Line the lime sherbet layer with a layer of pineapple sherbet, trying to keep this layer about 1/4 of an inch thick.  When satisfied with your layer, place the bowl in the freezer once again.  Set out the raspberry sherbet to soften.


Step Four:  After the raspberry sherbet has softened, place it in a different bowl.  Stir it until is is smooth, like soft-serve ice cream.  Add as many chocolate chips as you would like.  Mix well to distribute the "seeds" evenly throughout the sherbet.  If you want your watermelon to have a lot of seeds, add a lot of chocolate chips.  If you don't want too many seeds, don't add very many chocolate chips.


Once everything is mixed, add the entire amount of raspberry sherbet to your bowl, smooth it out evenly, and put it in the freezer one more time to set completely.


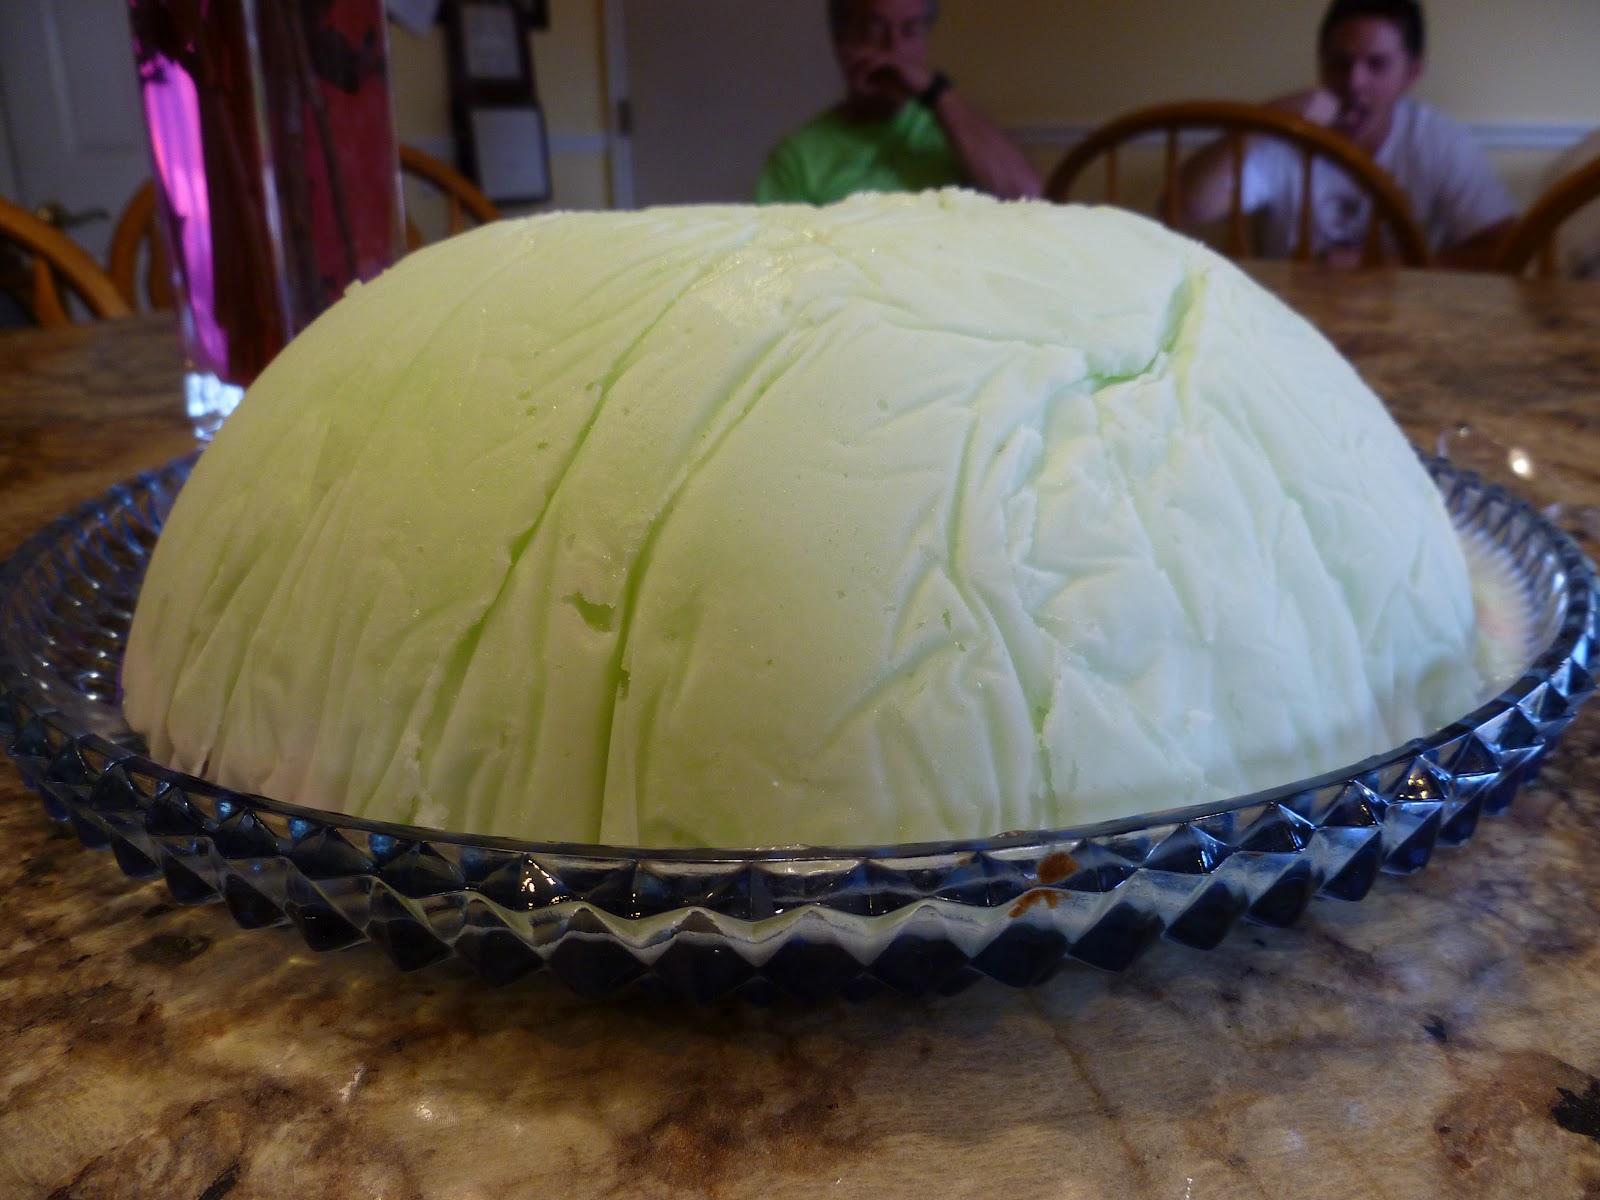
When it is time to serve, turn the bowl upside down on a platter and it will come right out because of the cellophane.  As you can see, mine has way too many crevices in it!  I didn't take the time I should have to smooth out the cellophane better!


Cut the "watermelon" into slices and serve.  As you can see also, my husband really chunked away at the "watermelon" this time when he was cutting it.  Usually we get nice, smooth cuts.  But either way, doesn't it look like a nice, refreshing piece of watermelon?!  And SOOOOOO tasty!

Well, there it is!  One of our July traditions!  I hope you enjoyed this little tutorial for a very simple but very refreshing dessert!  Have a wonderful day and thank you for stopping by!

Tuesday, July 3, 2012

Hooray for the Red, White and Blue...

My daughter asked if I would help her with a door wreath that she wanted to make for the 4th of July.  Of course I had to say Yes!  We spent a wonderful few hours cutting fabric, chatting, having lunch, chatting, cutting fabric, and she tied all the strips of fabric around the wreath.  Here is the result!  Isn't it just as cute as can be?!  I love it and so does she!  I think it will be just darling on her front door of her apartment!


Happy July 4th to everyone!  Thanks so much for stopping by again and I hope you have a safe and wonderful holiday!